
I am a fond believer of the concept “Seeing is believing”. Does that mean that I will test everything? No, probably not. But I will at least try to! Today the goal is to be creating an Android Virtual Device (AVD).
Further down the road, we will enroll these in Microsoft Intune.
For those of you that don’t know Microsoft Intune yet, it is a cloud-based unified endpoint management solution. Intune provides a central console for monitoring, configuring, and managing mobile devices and applications across multiple platforms, including iOS, Android, Linux, Chrome OS and Windows. It also provides a comprehensive set of tools for managing mobile applications, such as managing the distribution, installation, and usage of apps. All of this helps to improve productivity and reduce costs.
Creating an Android Virtual Device (AVD)
First of all, we will be creating an Android Virtual Device (AVD). AVD is an emulator that is part of the Android Studio. It is a great tool for developers to test their apps on different versions of Android. With AVD different versions of Android and different hardware configurations can be simulated.
However, that is not how we are intending to use it. In this article we will create an Android Virtual Device. This is helpful for those who don’t have access to physical Android devices. The AVD can be used to test out Intune policies and apps.
Creating an Android Virtual Device (AVD)
The process of creating an AVD is fairly straightforward within Android Studio. In addition, this software is freely available and has the following pre-requisites:
- 16GB RAM
- 64-bit Windows, macOS, Linux, or Chrome OS operating system
- 16GB disk space
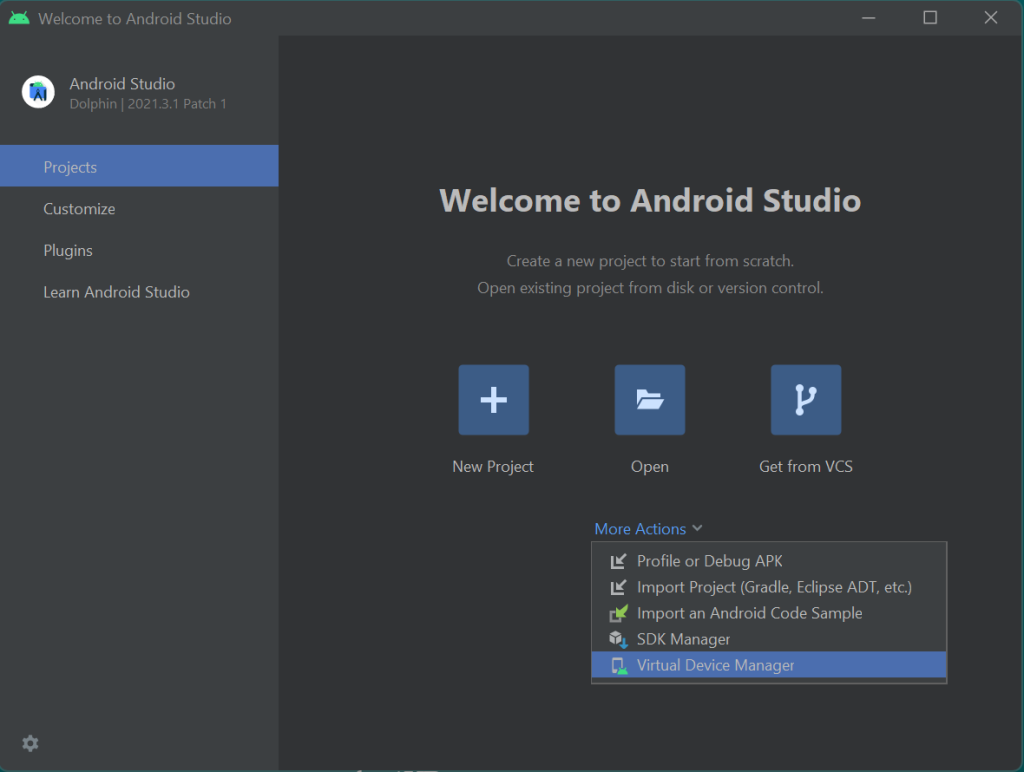
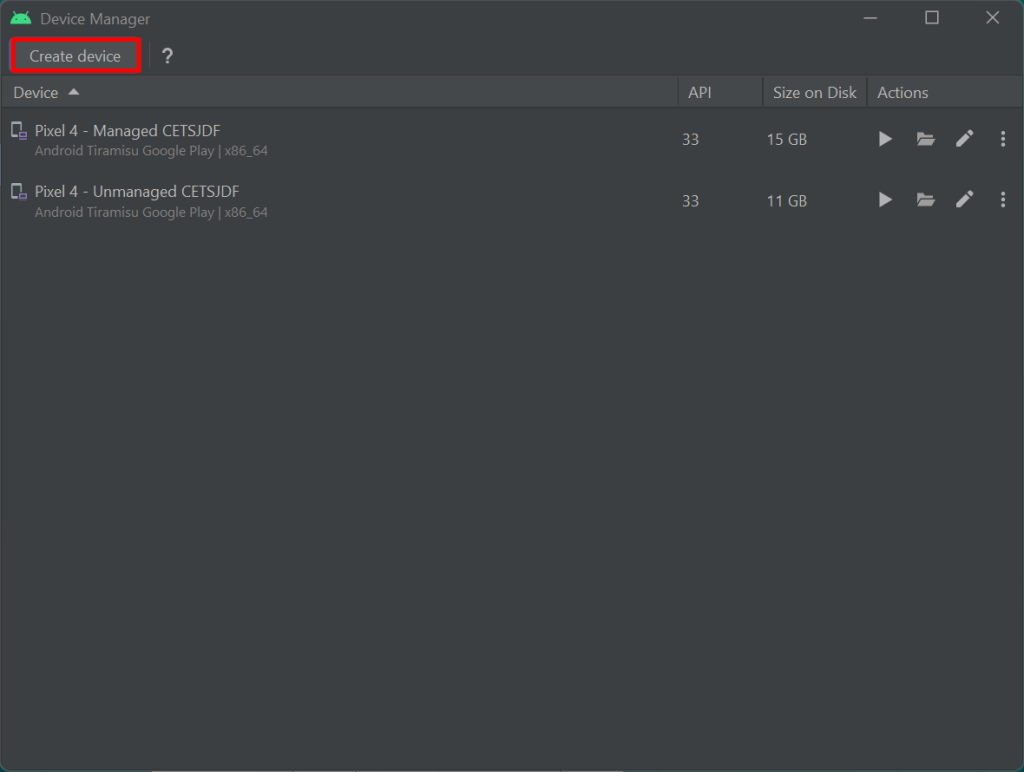
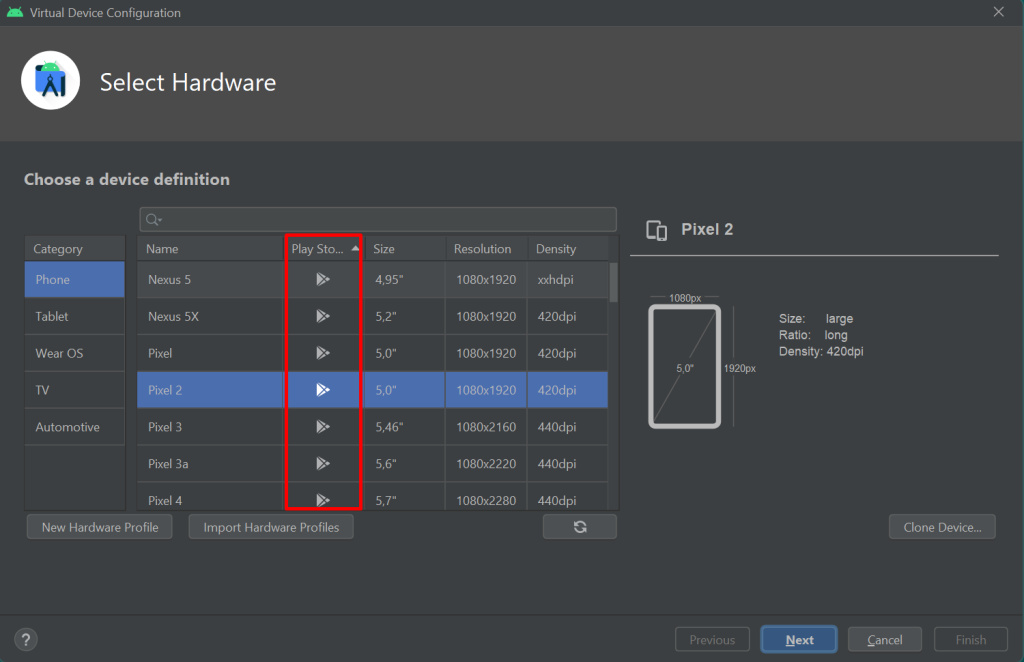
After installing and verifying the prerequisite, we will be configuring the AVD in Android Studio:
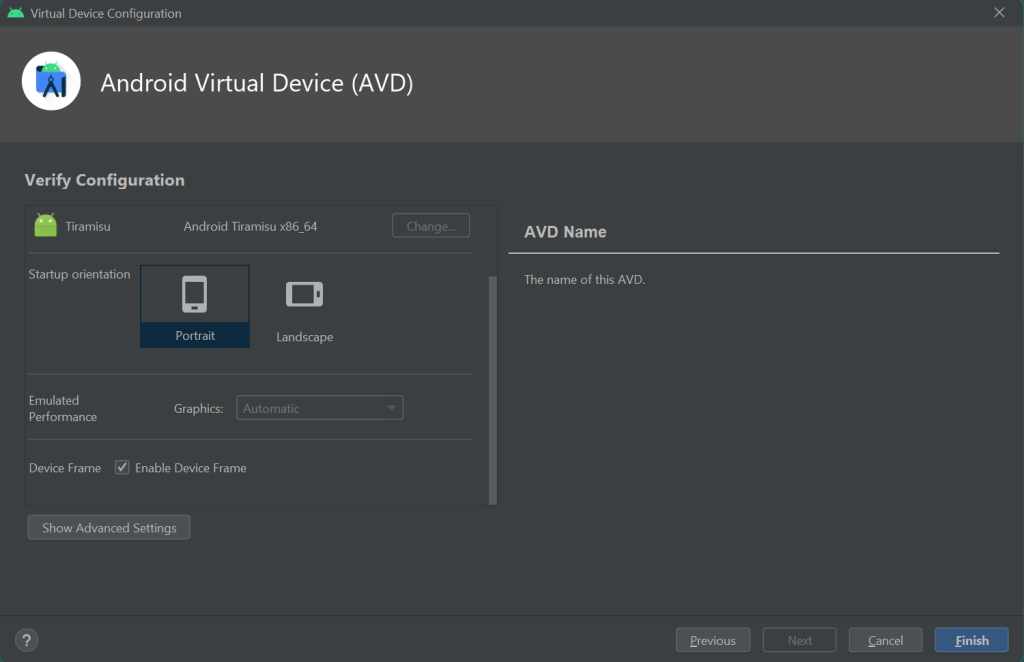
Click the “Finish” button to create the AVD.
Select the AVD you created and click the “Start” button to launch the AVD.
Configure hardware acceleration in Windows
Lastly, some configuration changes should be made to Windows. This will enable hardware acceleration of the emulator. However, this is an optional step, you can still use the emulator without it, but it will be slower and may not perform as well.
First, you must ensure that your computer has a processor that supports virtualization and that the feature is enabled in the BIOS. Then, you can follow these steps:
- Open the Start menu and type “Turn Windows features on or off” into the search box.
- Click on the “Turn Windows features on or off” option that appears in the search results.
- In the Windows Features window, scroll down and check the box next to “Hyper-V”.
- Click on the “OK” button to enable Hyper-V on your computer.
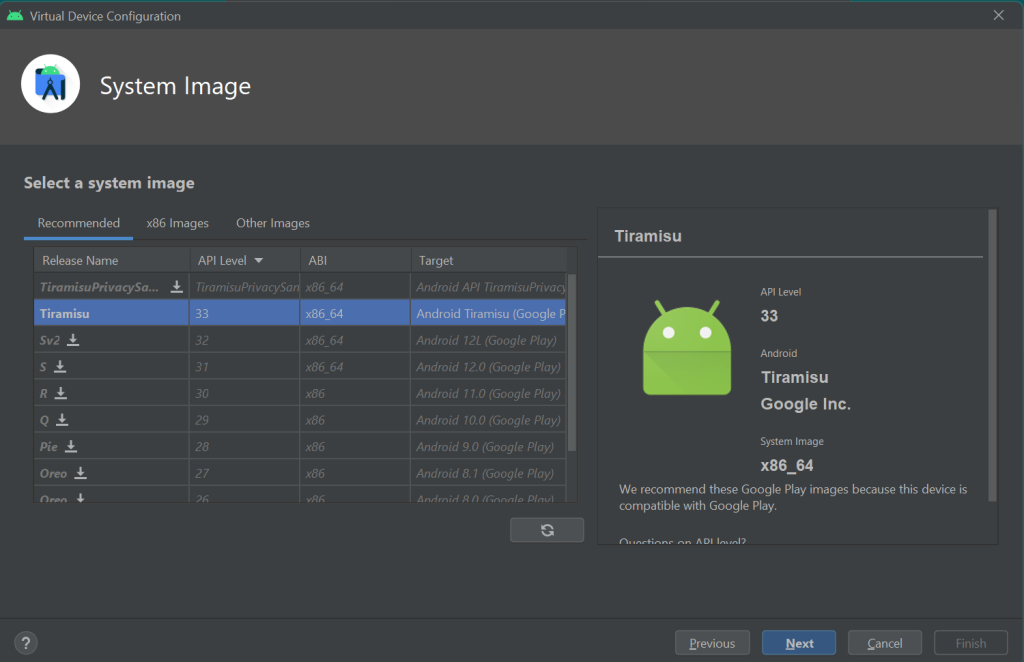
This will enable Hyper-V acceleration for the Android emulator, which can improve its performance. Make sure that the AVD you are creating is using an x86_64 or x86-based system image.
In conclusion, we are left with an Android Virtual Device (AVD) on Windows with all the necessities in-place to have hardware acceleration and still be able to use Hyper-V.
Our next step will be to enroll this device in Microsoft Intune, just as described in my next post.
Leave a Reply